Prepare your workstation computer
Important
Newer devices are supported through the Phoenix 6 library. Additionally, in FRC robot projects, the Phoenix 6 library must be installed alongside Phoenix 5.
Before Installing Phoenix…
It is strongly recommended to complete the base installation of FRC tools. https://docs.wpilib.org/en/latest/docs/getting-started/getting-started-frc-control-system/control-system-software.html
Warning
You will need to image the roboRIO to latest software before continuing. See FRC/NI documentation on how to image the roboRIO.
Test base FRC Installation - FRC LabVIEW
If a team intends to use LabVIEW to develop robot software, be sure to complete the full NI installer. At which point, opening LabVIEW should reveal the FRC-styled graphical start menu.
At this point it is recommended to create a simple template project and test deploy to the roboRIO. Be sure the DriverStation can communicate with the robot controller, and that DS message log is functional.
Test base FRC Installation - FRC C++ / Java
It is recommended to install the FRC Driver Station Utilities. This will install the Driver Station software, which is necessary for:
Basic comms checks
Reading joystick data
Generally required for enabling motor actuation (Phoenix Tuner Control features may require this, depending on setup).
General Recommendations for FRC C++ / Java.
The FRC C++/Java standard distribution for 2020 is based on the Microsoft Visual Studio Code development environment with WPI extensions.
If you are not familiar with developing C++/Java FRC programs, we strongly recommend testing full deployment to your robot controller before installing Phoenix and porting previous season software. A recommended test is to:
Create a project from scratch
Make a simple change such as add a print statement with a counter.
Deploy (or debug) your application.
Confirm robot can be teleop-enabled in DS.
Open FRC message Console and read through all the messages.
Repeat 2 - 5 ten times. This will train students to become familiar with and build general confidence in the tools.
Note
Third-party vendor libraries are installed into the C++/Java project, not the environment. For each C++/Java project you create, you must use the WPI provided tools to select Phoenix to bring the libraries into your project.
What to Download (and why)
Option 1: Windows installer (strongly recommended)
Environments: Windows-LabVIEW, Windows-C++/Java, HERO C#
Phoenix Installer zip can be downloaded at: https://store.ctr-electronics.com/software/.
It is typically named Phoenix Framework_Windows_vW.X.Y.Z.zip
This will install:
The LabVIEW Phoenix API (if LabVIEW is detected and selected in installer)
The C++/Java Phoenix API (if selected in installer)
Device Firmware Files (that were tested with the release)
CTRE Support of RobotBuilder
Phoenix Tuner v1
Installs Phoenix API libraries into the roboRIO (required for LabVIEW)
Installs Phoenix Diagnostics Server into the RoboRIO (needed for CAN diagnostics).
Plotter/Control features
Self-test Snapshot
Device ID and field-upgrade
Warning
If using Microsoft Edge, the browser may flag the download for security reasons.
In the menu bar of the downloaded file, select “Keep”.
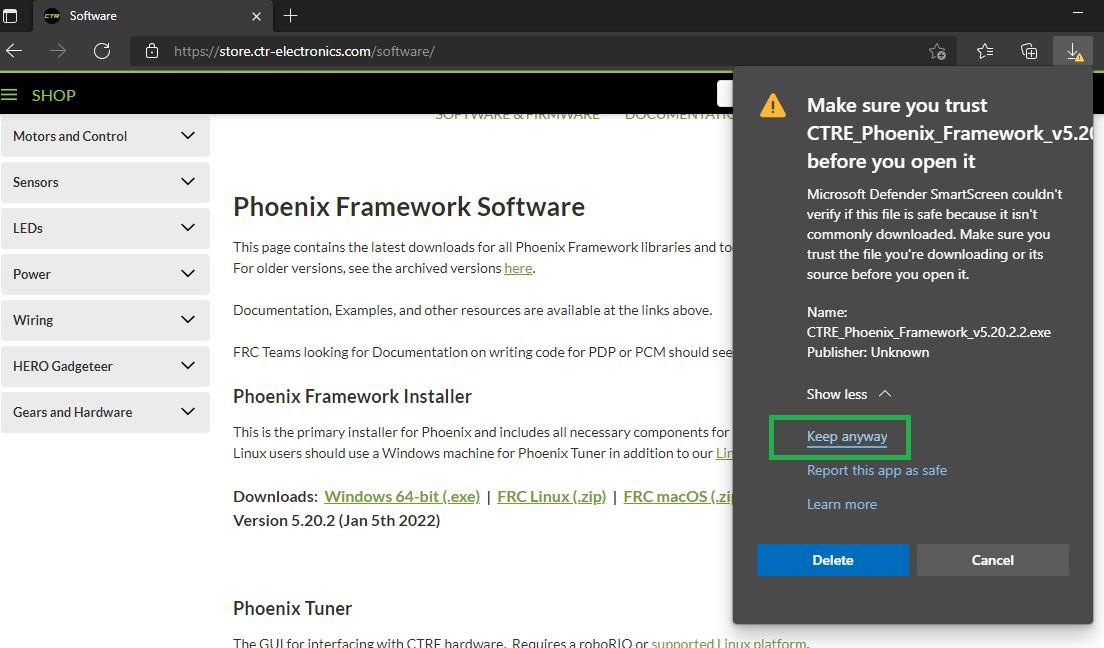
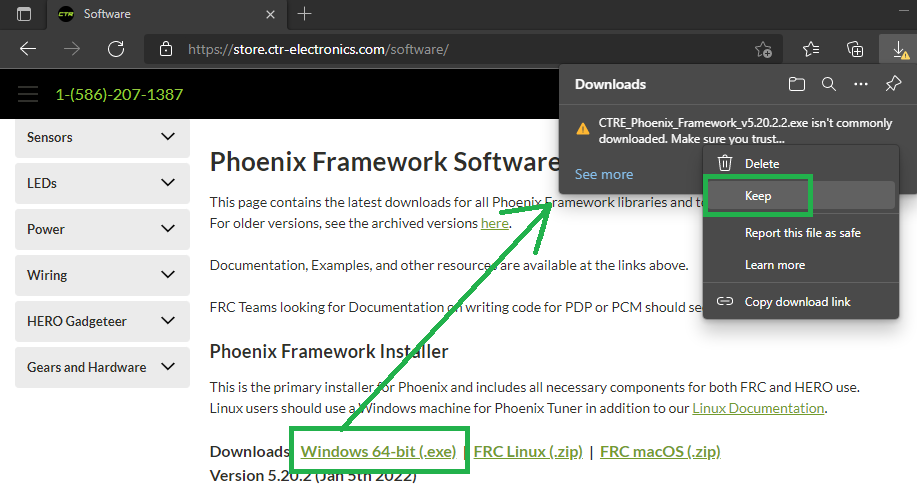 If the browser asks, confirm the download is trustworthy.
Option 2: Phoenix API via Non-Windows Zip
Environments: Linux/MacOS - C++/Java
The Phoenix API can be manually installed on non-Windows platforms by downloading the “non-Windows” zip and following the instructions found inside.
This essentially contains a maven-style repository that holds the API binaries and headers, as well as a “vendordeps” JSON file that instructs VS how to incorporate the Phoenix C++/Java API libraries.
Note
This is auto installed when using the Windows full installer (Option 1).
Phoenix Tuner v1
Environments: Windows
Warning
Phoenix Tuner v1 is no longer maintained. There is a modernized version called Tuner X that is available for Windows, Android, macOS, and iOS devices (works with Phoenix 5 and Phoenix 6).
If you are using option 2, you will need to download Phoenix Tuner separately. Phoenix Tuner is available here… https://github.com/CrossTheRoadElec/Phoenix-Tuner-Release/releases
This can be convenient for workstations that aren’t used for software development, but are used for field-upgrade or testing motor controllers.
Note
LabVIEW teams may need to use Phoenix Tuner to install Phoenix libraries into the roboRIO. More information on this can be found under Prepare Robot Controller.
Note
This is auto installed when using the Windows full installer.
Note
Developers may be interested to know that all Phoenix Tuner features leverage an HTTP API provided by the Phoenix Diagnostics Server. As such, custom tooling can be developed to field-upgrade, test-control, or diagnostics CTRE devices without Tuner.
Device Firmware Files (crf)
Tip
The new Phoenix Tuner X automatically downloads the latest firmware versions for devices.
The test firmware files for all CTRE devices are packaged with the Windows Installer (and has been for years). However, many FRC teams don’t notice, or prefer to download them directly from the product pages on the ctr-electronics.com website. If Internet access is available, they can be downloaded as such.
The FRC Software installer will create a directory with various firmware files/tools for many control system components. Typically, the path is:
C:\Users\Public\Documents\FRC
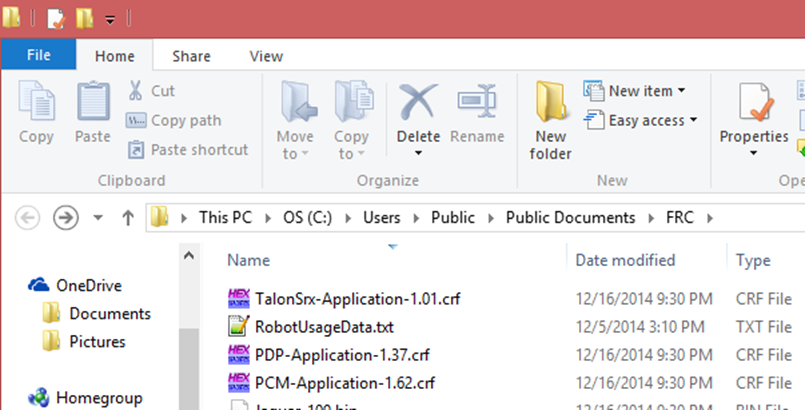
When the path is entered into a browser, the browser may fix-up the path:
C:\Users\Public\Public Documents\FRC
In this directory are the initial release firmware CRF files for all CTRE CAN bus devices, including the new Talon FX and CANCoder.
The latest firmware to be used can be found in the Software Release Notes.
Note
Additionally, newer updates may be provided online at https://store.ctr-electronics.com/software/.
Note
There is no longer FRC versus non-FRC firmware for motor controllers. Instead the latest firmware detects if the use case is FRC. If so, the device will FRC-Lock, and will require the Driver Station for actuation.
Workstation Installation
There are two installation methods listed below. The simplest and recommended approach is to run the Windows Installer (Option 1).
Option 1: Windows Offline Installer (C++/Java/LabVIEW, HERO C#)
Un-compress the downloaded zip.
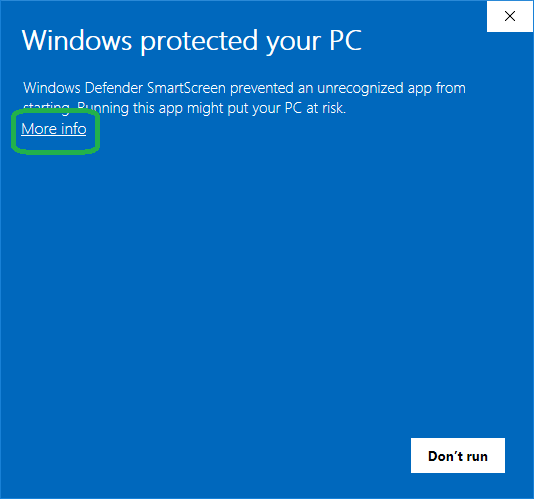
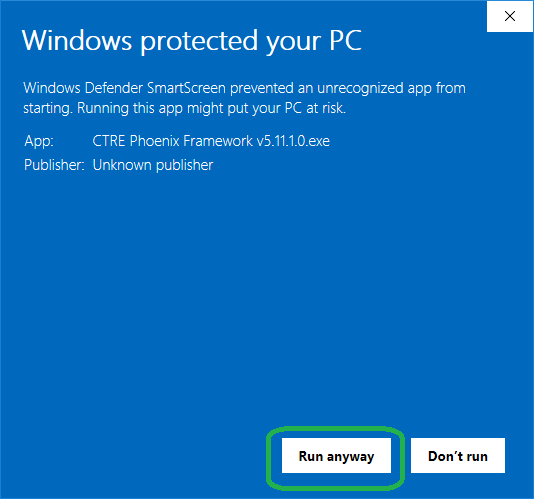
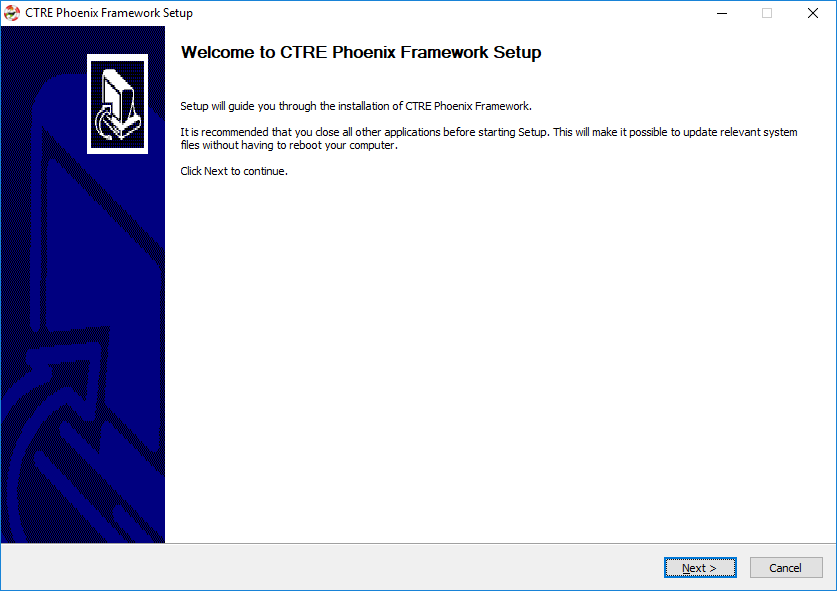
Double click on the installer. If the Windows protection popup appears press More Info, then Run anyway.
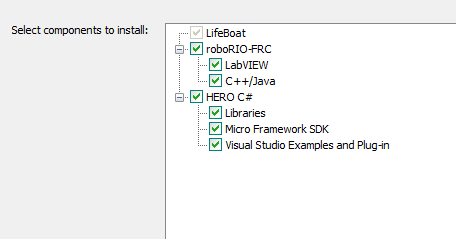
This will look very similar to previous installers - make sure you have the relevant component selected for your programming language.
LV Teams: Make sure LabVIEW is selected. If it is grayed out, then LabVIEW was not installed on the PC.
C++/Java Teams: Make sure C++/Java is selected.
If Visual Studio 2017 (Community/Professional) is detected, HERO C# will be selected. This can be turned off to speed up the installer.
Installer can take anywhere from 30 seconds to 5 minutes depending on which Microsoft runtimes need to be installed.
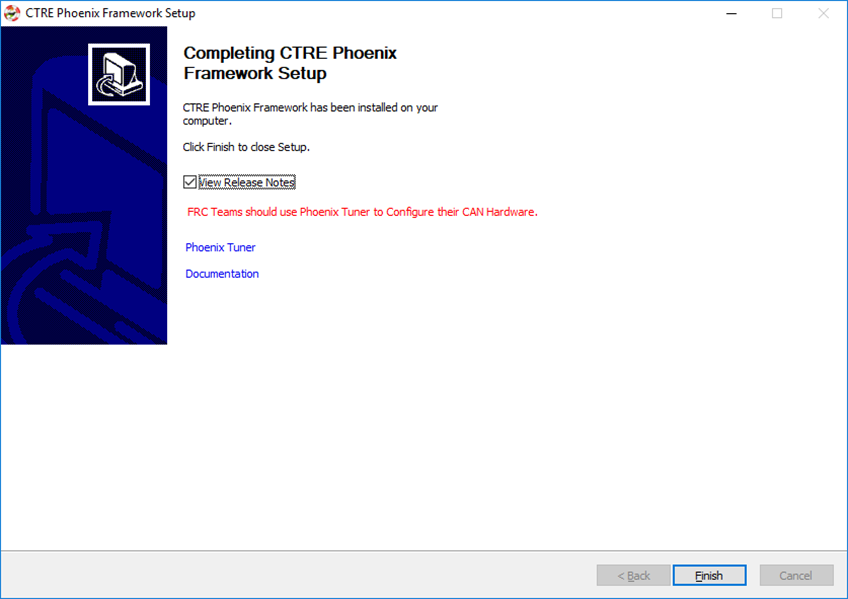
Final page will look like this. The Phoenix Tuner link can be used to open Phoenix Tuner v1. Alternatively, you can use the Windows Start Menu.
Option 2: Non-Windows Zip (C++/Java)
The zip will contain two folders, “maven” and “vendordeps”. These folders are meant to be inserted into your frc2020 install folder.
See WPI documentation for typical location. https://docs.wpilib.org/en/latest/docs/software/wpilib-overview/3rd-party-libraries.html#the-mechanism-c-java
Copy/paste the maven and vendordeps folder into frc2020 folder. This will override a pre-existing Phoenix installation if present.
Note
This will not install Phoenix Tuner v1 or firmware files. If these are necessary (and they typically are) these can be downloaded separately or consider using the complete Phoenix Installer.
Post Installation Steps
After all workstation installs, the following checks should be followed to confirm proper installation.
FRC C++/Java - Verify Installation
The offline files for vscode are typically installed in:
C:\Users\Public\wpilib\2020\vendordeps\Phoenix.json (File used by vscode to include Phoenix in your project)
C:\Users\Public\wpilib\2020\maven\com\ctre\phoenix (multiple maven-style library files)
Your drive letter may be different than “C:”. After running the Phoenix Installer, the instructions to add or update Phoenix in your robot project must be followed.
FRC LabVIEW – Verify Installation
After running the installer, open a pristine copy of FRC LabVIEW.
Testing the install can be done by opening LabVIEW and confirming the VIs are installed. This can be done by opening an existing project or creating a new project, or opening a single VI in LabVIEW. Whatever the simplest method to getting to the LabVIEW palette.
The CTRE Palette is located in:
WPI Robotics Library -> Third Party.
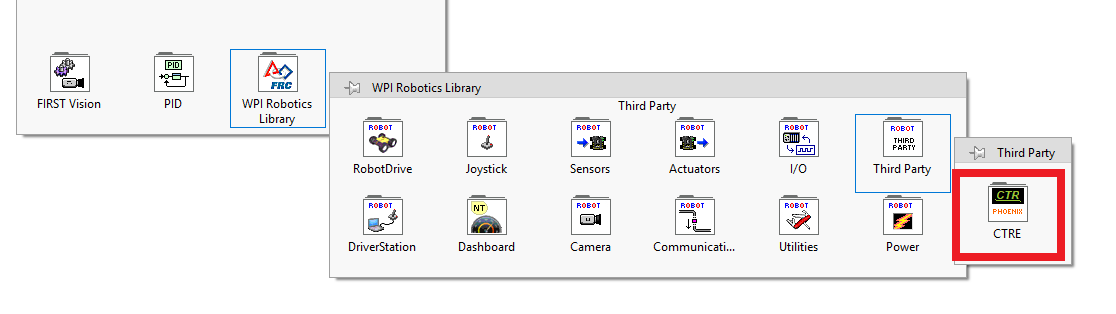
This palette can also be found in:
WPI Robotics Library -> RobotDrive -> MotorControl -> CanMotor
WPI Robotics Library -> Sensors -> Third Party
WPI Robotics Library -> Actuators -> Third Party
Warning
LabVIEW teams not using latest Phoenix may need to chain Phoenix Open VIs together. See the errata here: LabVIEW Phoenix Open VIs must be chained to guarantee sequential execution
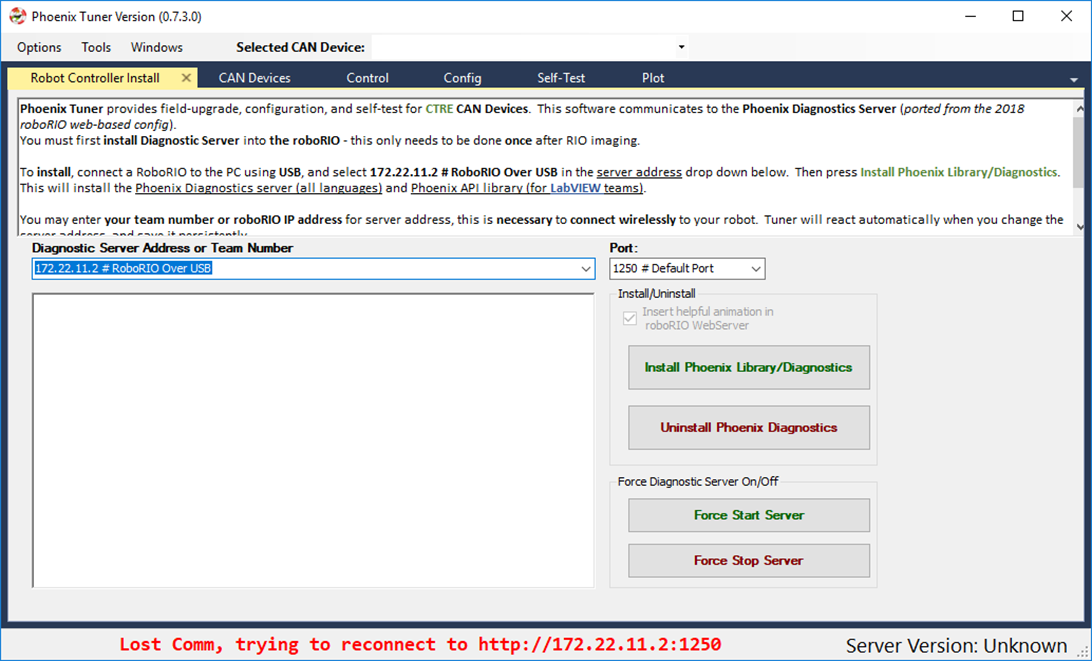
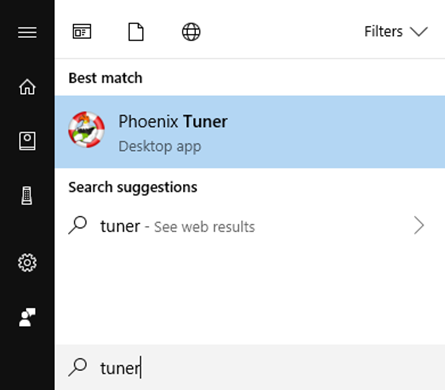
FRC Windows – Open Phoenix Tuner
Open Phoenix Tuner v1
If this is the first time opening application, confirm the following:
the status bar should read “Lost Comm”.
No CAN devices will appear.
The Server version will be unknown.